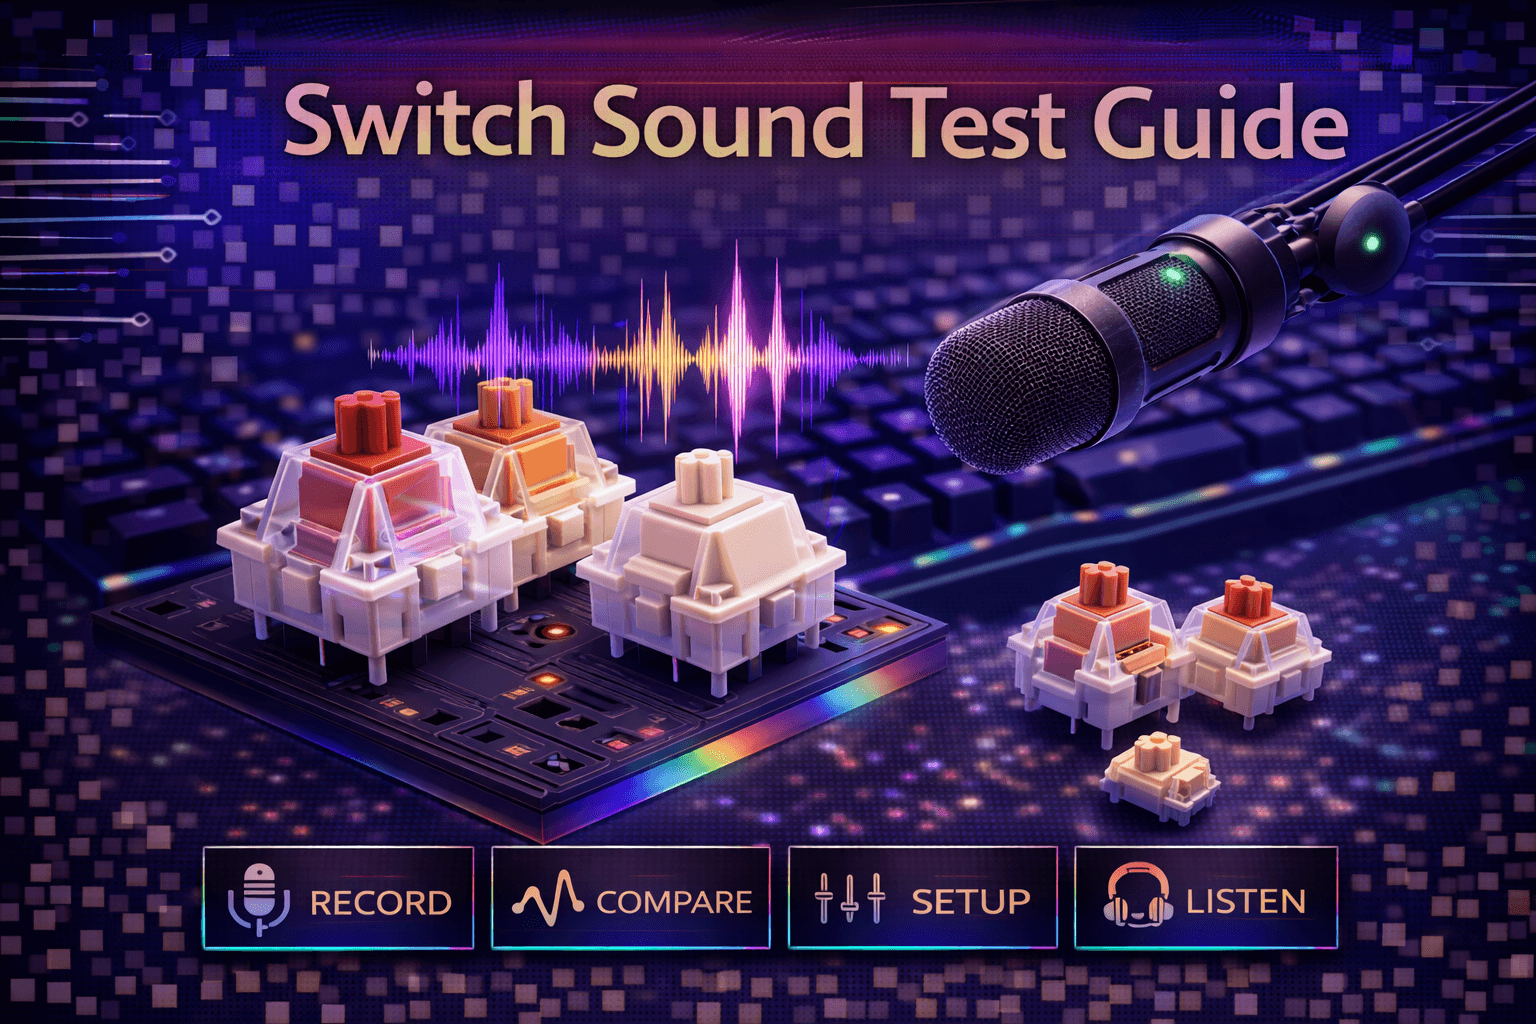
Switch sound testing helps enthusiasts compare acoustic characteristics before purchasing switches, but sound test quality varies dramatically based on recording technique, equipment, and methodology. Understanding how to conduct proper sound tests—or evaluate others' tests—prevents misleading comparisons and helps make informed switch decisions based on accurate information rather than flawed recordings.
Sound testing seems deceptively simple: press keys, record audio. Technical reality is complex. Microphone quality affects capture accuracy dramatically. Microphone placement changes sound character significantly. Typing technique impacts acoustics. Background noise interferes with clean recording. Keyboard construction (case, plate, mounting) affects sound more than switches themselves. Without controlling these variables systematically, sound tests provide misleading comparisons and false conclusions.
Proper sound testing requires understanding what factors affect keyboard acoustics, how to minimize variable interference, what equipment captures sound accurately at different budgets, and how to present comparisons fairly and transparently. Even without recording yourself, understanding these factors helps evaluate YouTube sound tests critically rather than accepting them uncritically as objective switch comparisons.
This comprehensive guide covers what affects switch sound, equipment recommendations by budget, proper recording technique, testing methodology for fair comparisons, sound analysis and terminology, common mistakes, and helps you either conduct quality sound tests or evaluate others' tests intelligently. Whether recording for YouTube, testing switches for personal decision, or watching others' videos, understanding proper methodology improves sound-based switch evaluation.
Note: This guide contains affiliate links. If you purchase through our links, we may earn a commission at no extra cost to you. This helps support our in-depth testing and content creation.
What Affects Switch Sound
Understanding sound variables helps control or account for them during testing.
Switch Characteristics (Isolated Factors)
Housing material: Nylon versus polycarbonate creates different resonance. Milky nylon housings dampen high frequencies creating deeper sound. Polycarbonate creates brighter acoustics.
Stem design: Long-pole stems change bottom-out sound character. Stem material (POM vs others) affects acoustic properties.
Spring quality: Spring type affects sound resonance. Quality springs prevent spring ping. Cheaper springs create audible pinging.
Switch type: Linear switches smooth, tactile switches have bump sound, clicky switches have click mechanism noise.
These factors: Switch-dependent, can be isolated and tested in controlled methodology.
Keyboard Construction (BIGGER Impact on Sound)
Research shows keyboard construction affects sound MORE than switch choice.
Case material: Aluminum resonates and amplifies, plastic dampens, wood creates warm tone. Aluminum cases produce dramatically different sound than plastic cases with identical switches.
Case volume: Hollow cases amplify sound, filled cases dampen. Larger volume creates more resonance.
Plate material: Aluminum bright/loud, brass deeper/warmer, FR4/POM dampened/muted. No plate produces softest sound.
Mounting method: Tray mount produces harsh sound, gasket mount creates refined sound, top mount moderate. Mounting affects vibration transfer significantly.
Foam/dampening: Case foam, plate foam, switch pads all affect sound substantially. Heavy foam dampens dramatically, minimal foam allows resonance.
Keycaps: PBT creates deeper sound, ABS brighter. Thick keycaps different from thin. Cherry profile versus SA versus other profiles creates different acoustics.
These factors: Often MORE impactful on sound than switch choice itself. Same switches sound completely different in different keyboards.
Environmental Factors
Desk surface: Wood desk versus metal desk versus glass creates different resonance. Desk mat absorbs vibrations, hard surface reflects sound.
Room acoustics: Carpeted room dampened, hard floors reverberant, soft furnishings absorb sound.
Background noise: Fans, AC units, traffic noise masks switch sounds in recordings.
These factors: Environmental variables requiring control and consistency.
Typing Technique Variables
Typing force: Light typing versus heavy bottoming creates different sounds. Force directly affects acoustic output.
Typing speed: Affects sound character and resonance.
Finger positioning: Impacts keycap strike angle and resulting sound.
These factors: Technique variables requiring absolute consistency across all tests.
Critical Understanding
Switch sound isn't isolated characteristic. It's result of: switch + keyboard construction + environment + technique. Comparing "switch A versus switch B sound" requires identical keyboards, environments, and technique. Most YouTube sound tests don't control these variables adequately, invalidating direct comparisons.
Equipment Recommendations by Budget
Budget Tier ($0-50) - Smartphone Recording
Equipment: Smartphone with adequate built-in microphone
Pros:
- Free (already owned)
- Adequate for personal testing
- Convenient and portable
Cons:
- Microphone quality varies by phone
- Limited control over recording
- Environmental noise pickup
Best for: Personal switch testing, learning preferences, casual self-comparison
Technique: Place phone 6-12 inches from keyboard, stable position, quiet room, avoid excessive background noise
Realistic expectations: Won't match professional quality but adequate for personal decision-making
Mid Tier ($) - USB Condenser Microphone
Recommended Equipment:
- Blue Yeti ($$): Cardioid pattern, USB, simple setup
- Audio-Technica AT2020+ ($$$): Studio-grade, USB connection
- Samson Q2U ($$): Budget-friendly, good quality
Pros:
- Clear audio capture
- USB connection (simple setup)
- Cardioid pattern reduces background noise
- Professional-quality recordings
Cons:
- Still picks up environmental noise
- Technique and environment matter
- Setup requires attention to placement
Best for: YouTube content, serious testing, sharing comparisons with community
Technique: Position 6-12 inches from keyboard, cardioid pattern aimed at keyboard, stable mount, quiet environment
Realistic expectations: Professional-quality recordings adequate for YouTube and community sharing
Premium Tier ($200+) - Professional Setup
Equipment:
- XLR microphone (Shure SM7B): Industry standard
- Audio interface (Focusrite Scarlett): Quality signal chain
- Boom arm + shock mount ($$): Isolation and positioning
- Acoustic treatment: Foam panels, bass traps
Pros:
- Professional audio quality
- Maximum variable control
- Minimal environmental interference
- Best possible recording quality
Cons:
- Expensive ($500-1,000+)
- Complex setup and maintenance
- Overkill for most users
Best for: Professional content creators, reviewers, serious enthusiasts
Realistic expectations: Best possible quality, suitable for professional YouTube and publication
Equipment Priority (Budget Allocation)
Most important: Quiet environment > Microphone quality
A good microphone in noisy room produces worse results than smartphone in quiet room. Prioritize environment first.
Smart budget allocation:
- Quiet testing space (free but essential)
- Microphone ($50-150 adequate)
- Acoustic treatment if needed
- Premium gear only for serious content creation
Recording Technique (Proper Methodology)
Microphone Placement & Positioning
Distance from keyboard: 6-12 inches optimal
- Too close (2-3 inches): Overwhelming bass, excessive detail
- Too far (18+ inches): Loses detail, picks up environmental noise
- 6-12 inches: Balanced capture representing realistic listening experience
Microphone angle: Aim at typing area, not off-axis
Height: Level with or slightly above keyboard
Consistency: Same position for all switch tests (critical for comparison)
Environment Preparation (Essential)
Quiet room: Close windows, turn off fans/AC, minimize background noise. Environment is critical factor.
Desk surface: Consistent surface (same desk/mat) for all tests. Desk mat dampens resonance.
Room treatment: Soft furnishings help (curtains, carpet, furniture). Hard empty rooms create reverberation.
Testing time: Test during quiet hours if environment has variable noise (traffic, neighbors, etc.)
Typing Technique (Consistency Critical)
Consistency essential: Type same speed, same force across all tests. Typing technique directly affects acoustics.
Natural typing: Don't alter technique for recording. Type as you normally would.
Multiple takes: Record 2-3 takes per switch, use best quality recording.
Test phrases: Use consistent phrases enabling comparison:
- "The quick brown fox jumps over the lazy dog" (all letters)
- Standard typing test passages
- Repetitive phrases revealing switch character
Recording Settings (Technical Parameters)
Sample rate: 44.1kHz or 48kHz (standard audio quality)
Bit depth: 16-bit minimum, 24-bit if available (better quality)
File format: WAV or FLAC for testing (uncompressed), MP3 for sharing
Gain levels: Set levels avoiding clipping while capturing full dynamic range. Peak around -6dB (not too hot, not too quiet).
Post-Processing (Minimal Approach)
Minimal editing: Avoid excessive EQ or effects. Distorts actual switch sound.
Consistent processing: Apply identical processing to all recordings for fair comparison.
Transparency: Disclose any processing when sharing recordings publicly.
Sound Testing Methodology (Proper Process)
Controlled Variables (Critical Requirement)
For fair switch comparison, keep identical:
- Keyboard (same board for all switch tests)
- Keycaps (same set)
- Environment (same room, same time)
- Microphone position (exactly same placement)
- Typing technique (consistent force and speed)
- Recording settings (same sample rate, bit depth, levels)
Only variable: The switches themselves
Proper Testing Process
1. Establish baseline:
- Test with original switches
- Record multiple takes
- Establish reference sound
2. Switch installation:
- Install test switches properly
- Ensure proper seating
- No wobble or misalignment
3. Break-in period:
- Type on new switches 15-30 minutes
- Allows switches to settle
- More representative sound
4. Recording:
- Record multiple takes (2-3)
- Same phrases each test
- Same technique and force
5. Labeling:
- Clearly label each recording
- Note switch name, date, any variables
- Organize chronologically
A/B Comparison Testing
Sequential testing: Test switches on same day to minimize variables between tests.
Blind testing: Have someone else label recordings. Identify switches by sound alone. Tests whether sound differences are actually detectable to listeners.
Important Note
Sound depends on your specific keyboard. Results won't generalize to other keyboards easily.
Sound Analysis and Terminology
Sound Characteristics to Evaluate
Pitch:
- High-pitched: "Clacky," bright, sharp sound
- Low-pitched: "Thocky," deep, warm sound
Volume:
- Loud: Easily heard across room
- Moderate: Audible nearby
- Quiet: Minimal sound output
Sharpness:
- Sharp: Quick attack, distinct note
- Soft: Gentle onset, muted
Resonance:
- Resonant: Sound continues after keypress
- Dampened: Sound stops quickly
Texture:
- Smooth: Clean consistent sound
- Scratchy: Rough sound texture
- Rattly: Loose component sounds
Common Enthusiast Terminology
"Thocky": Deep, satisfying, low-pitched sound. Popular preference for enthusiasts.
"Clacky": High-pitched, sharp, bright sound. Less preferred typically but some appreciate it.
"Creamy": Smooth, refined, pleasant sound texture. Premium feel designation.
"Marbly": Specific resonant sound, marble-like acoustic quality. Unique desirable characteristic.
"Poppy": Distinct articulate keypress sound. Sharp defined acoustic.
"Muted": Dampened, quiet, low-volume sound. Office/professional preference.
Subjective Nature Reality
Sound preference is entirely subjective. "Thocky" isn't objectively better than "clacky"—just different. Test multiple switches, identify YOUR preference through personal testing.
Common Sound Testing Mistakes
Mistake #1: Inconsistent technique
- Varying typing force between tests
- Results: Invalidates comparison
- Fix: Use consistent force and speed
Mistake #2: Different keyboards
- Testing switches in different boards
- Results: Compares boards more than switches
- Fix: Use identical keyboard for all tests
Mistake #3: Poor environment
- Background noise masks switch sounds
- Results: Muddy, unusable recordings
- Fix: Test in quiet room, control environment
Mistake #4: No break-in period
- Brand new switches sound different
- Results: Unrepresentative first test
- Fix: Type 15-30 minutes break-in
Mistake #5: Single recording
- One take might not represent typical sound
- Results: Outlier results, not representative
- Fix: Record 2-3 takes, use best quality
Mistake #6: Excessive post-processing
- EQ and effects mask actual sound
- Results: Sound doesn't match reality
- Fix: Minimal processing, transparency
Mistake #7: Inadequate labeling
- Losing track of which recording is which
- Results: Confusion, useless comparisons
- Fix: Clear naming, date, switch details
Mistake #8: Cross-video comparison
- Comparing YouTube videos from different creators
- Results: Different recording setups invalidate comparison
- Fix: Compare same-source recordings only
Evaluating Others' Sound Tests
What Good Sound Tests Include
Good sound tests transparently disclose:
- Clear keyboard specifications (case, plate, keycaps, mounting)
- Consistent typing technique visible
- Multiple examples of each switch
- Quiet, controlled environment
- Decent recording quality
- Comparison within same keyboard
Red Flags (Poor Quality Tests)
⚠️ No keyboard details provided
⚠️ Comparing switches in different keyboards
⚠️ Single short clip per switch
⚠️ Noisy environment (fans, background noise)
⚠️ Excessive audio processing/effects
⚠️ Clickbait claims ("objectively best switch")
⚠️ No break-in period mentioned
Critical Viewing Approach
Don't trust sound tests blindly. Consider:
- Recording methodology transparency
- Whether variables are controlled
- If keyboard matches your interest
- Your own sound preferences vs creator's
- Whether the recording quality is adequate
Use sound tests as rough guidance, not absolute truth. Your keyboard construction will affect sound as much as switch choice.
FAQ
Q: Can I sound test switches with just my phone?
A: Yes, adequate for personal testing. Place phone 6-12 inches from keyboard in quiet room, record multiple takes. Won't match professional recording but helps compare switches for your own decision. See equipment section above.
Q: Why do switches sound different in YouTube videos versus real life?
A: Recording equipment, microphone placement, compression, playback equipment, and editing all affect sound. Use sound tests as rough guide understanding they don't perfectly represent reality. Your keyboard construction matters more than switch choice. See what affects sound section above.
Q: Do I need to sound test switches before buying?
A: Helpful but not essential. Sound depends on your keyboard construction significantly. Better to focus on switch type (linear/tactile/clicky) and weight first. Sound tests useful for enthusiasts optimizing build after selecting switch type. See methodology section above.
Q: What's the best switch for thocky sound?
A: "Thock" depends more on keyboard (case material, foam, keycaps) than switches. Generally: milky nylon housings, PBT keycaps, good dampening helps. Boba U4T and Glorious Pandas have thocky reputations, but keyboard construction matters more than switch choice. See what affects sound section above.
Q: Are switch sound tests objective?
A: No, highly subjective. Recording equipment, keyboard, environment, and personal preference all vary. Use sound tests as rough comparison guide, not objective measurements. Sound preference is personal. See analysis section above.
Conclusion
Switch sound testing helps enthusiasts compare acoustic characteristics, but proper methodology requires controlling variables like keyboard construction, environment, and recording technique. Understanding what affects switch sound—primarily keyboard factors rather than switches alone—helps conduct meaningful tests or evaluate others' recordings critically.
For personal testing, smartphone in quiet room provides adequate comparison capability. For sharing recordings, USB microphone ($) delivers professional quality without requiring expensive equipment. Consistency matters more than premium gear.
When evaluating YouTube sound tests, consider recording methodology, whether variables are controlled, and remember keyboard construction affects sound more than switch choice. Use sound tests as rough guidance rather than absolute truth.
The straightforward approach: focus on switch type (linear/tactile/clicky) and weight primarily, use sound as secondary consideration. If sound is priority, understand it depends more on keyboard construction than switches. Control variables when testing, evaluate others' tests critically, and remember sound preference is subjective.


