Force break mod (also called force break or FB mod) transforms keyboard acoustics by strategically placing material between PCB and plate creating controlled flex points altering sound signature toward deeper, more satisfying "poppy" tone. This advanced modification gained popularity as alternative to PE foam mod, offering similar acoustic improvements with different characteristics appealing to keyboard enthusiasts seeking specific sound profiles. For a softer, travel-focused alternative that targets bottom-out noise instead of resonance, see our o-ring mod guide.
Understanding force break mod requires recognizing how keyboards produce sound—plate and case materials, mounting style, internal empty space all contribute to acoustic signature. See our keyboard plates guide for a deeper look at how plate material itself shapes keyboard sound. Force break mod manipulates these factors by introducing strategic dampening points forcing vibrations to travel differently through keyboard structure, resulting in altered sound characteristics.
This comprehensive guide explains force break mod theory and acoustics, provides step-by-step installation procedures, compares force break to PE foam and other sound mods, discusses material selection and placement strategies, covers troubleshooting common issues, and helps determine if force break mod suits your keyboard and preferences.
Whether seeking deeper thock, reducing hollowness, or experimenting with keyboard acoustics, understanding force break mod enables informed modification decisions.
Note: This guide contains affiliate links. If you purchase through our links, we may earn a commission at no extra cost to you. This helps support our testing and content creation.
What Is Force Break Mod
Definition and Acoustic Concept
Force break mod places thin material (typically foam, tape, or paper) between PCB bottom and case/plate in specific locations creating "break points" where keyboard flex behavior changes. These strategic placements alter how vibrations propagate through keyboard structure affecting sound signature fundamentally.
The technique deliberately introduces dampening points forcing the keyboard structure to flex and resonate differently than intended. Rather than uniform acoustic response, force break creates controlled variations in vibration paths, resulting in altered pitch, reduced hollowness, and modified overall sound character.
How Force Break Mod Works Acoustically
Normal keyboard acoustics without modification:
- Keypress generates vibration from switch and stem
- Vibration travels through switch housing → PCB → mounting system → case
- Empty internal spaces create resonance chambers
- Case material and geometry determine final sound characteristics
- Result: acoustic signature determined by design and materials only
With force break mod installed:
- Strategic material placement creates dampening points
- Vibrations encounter planned resistance at break points
- Forced to travel alternate paths through keyboard structure
- Some vibration energy absorbed by foam instead of amplified
- Controlled flex points create new resonance characteristics
- Result: deliberately modified sound profile matching designer intent
Physical mechanism: Foam compresses when PCB presses against it during typing, creating temporary flex points. These points interrupt and redirect vibration propagation, fundamentally altering how sound develops.
Difference From Other Acoustic Modifications
PE foam mod: Thin PE foam layer between PCB and switches. Directly affects switch bottom-out feel, creating "poppy" tactile and acoustic response. Changes how switch stem impacts PCB.
Force break mod: Material between PCB and case/plate bottom. Affects overall keyboard vibration and resonance patterns. Does not change switch feel or bottom-out experience.
Case foam mod: Fills empty case space reducing echo. Broadly dampens overall hollowness. Less targeted than force break.
Tape mod: Layers of tape applied to PCB backside. Creates dampening through material buildup. Similar effect to force break but different application method.
Stabilizer lubing/modding: Affects stabilizer sound specifically. Addresses rattle and smoothness of spacebar/large keys.
Force break can combine with these mods for comprehensive acoustic tuning or work standalone depending on goals.
Sound Characteristics
Typical force break results:
- Deeper pitch (reduced high-frequency resonance)
- Less hollow echo in case
- More controlled resonance without excessive ringing
- "Poppy" or "thock" depending on materials and placement
- Reduced case ping and resonance
- Fuller sound with less emptiness
Important caveat: Results vary significantly by:
- Keyboard design and mounting style
- Foam material and thickness selection
- Placement strategy and coverage
- Case material and construction
- Combined mods used simultaneously
Not universal solution: Force break improves some keyboards dramatically while having minimal effect on others.
Why Called "Force Break"
Name derives from concept of forcing keyboard to break normal vibration patterns at specific points. Strategic placement creates controlled break points in natural flex and sound propagation paths. Terminology emphasizes deliberate interruption of standard acoustic behavior.
Community adopted term describing technique's core concept—forcing changes to flex and vibration through strategic material placement.
Popularity in Custom Keyboard Community
Gained significant traction in custom mechanical keyboard community 2023-2024. Keyboard enthusiasts experimenting with variations, documenting results, sharing discoveries online. Multiple placement strategies emerged from community testing and refinement.
Not as widespread as PE foam mod or tape mod, but rapidly growing among acoustic-focused enthusiasts seeking specific sound profiles. YouTube creators and keyboard forums driving awareness and experimentation.
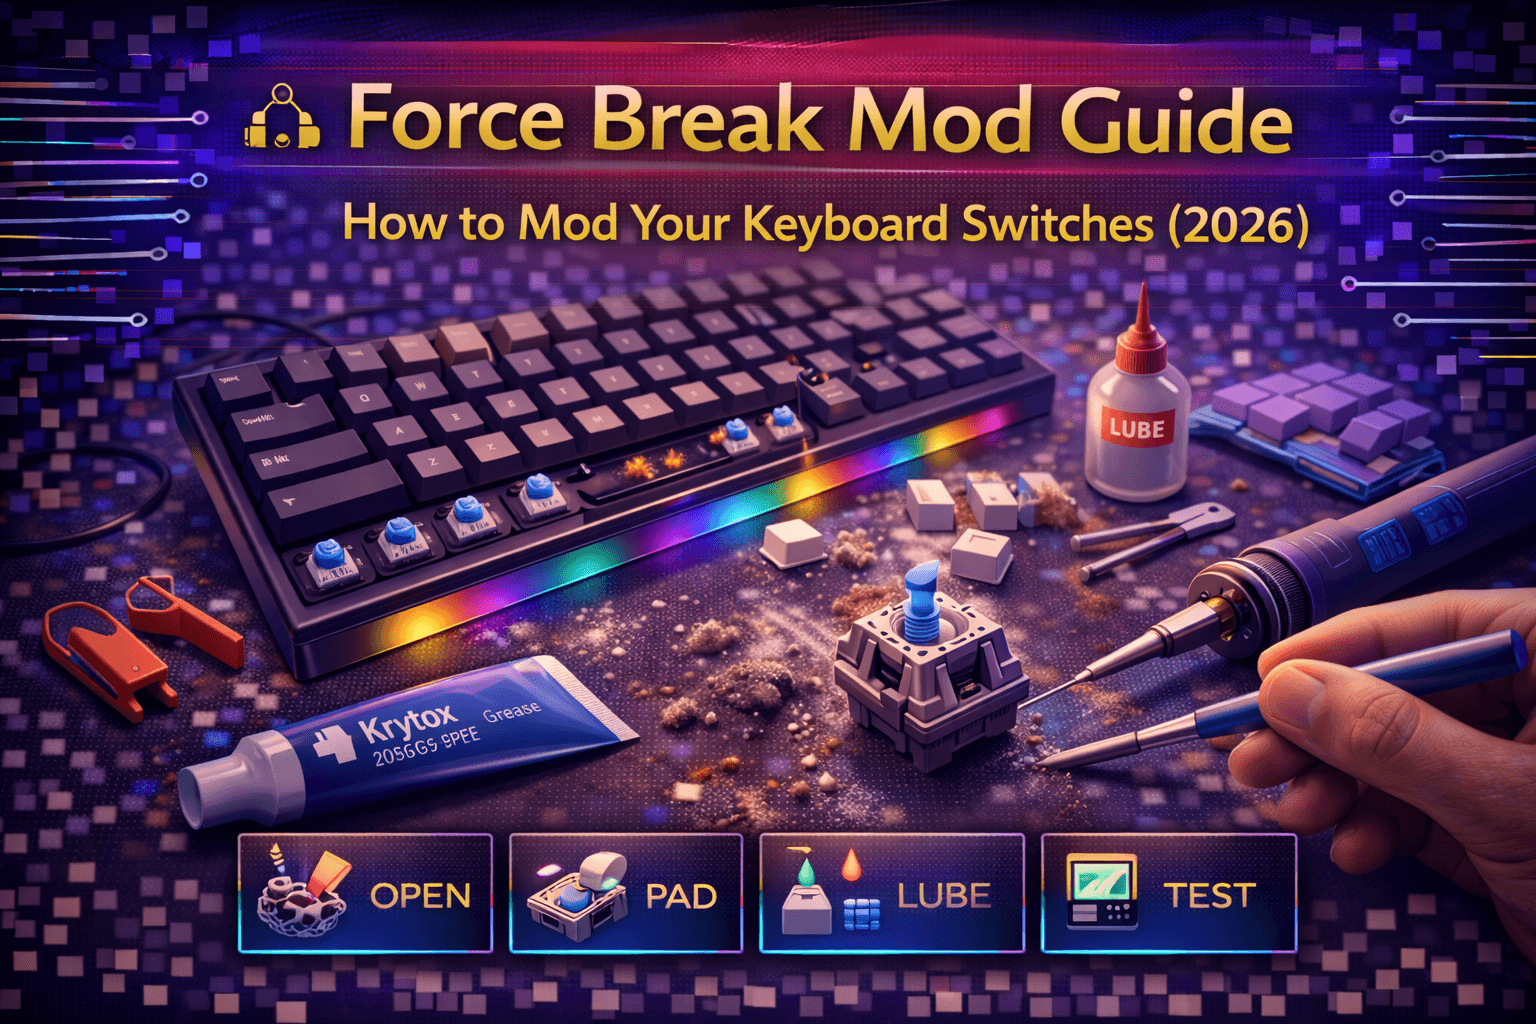
Materials and Tools
Primary Foam Materials
EVA foam (ethylene-vinyl acetate): 2-3mm thickness. Firm but compressible. Good general-purpose dampening. Affordable. Easy to cut. ~$8-15 per sheet from craft suppliers.
Neoprene foam: 2-4mm thickness. Dense dampening properties. Excellent sound absorption across frequency ranges. Higher cost. More durable than EVA. ~$10-20 per sheet.
Poron foam: 1-2mm thickness. Premium option with consistent compression. Superior dampening characteristics. Very cost-prohibitive. ~$15-25 per sheet.
Shelf liner material: Budget option. Varies significantly in effectiveness. Some varieties work well, others disappointing. ~$5-10 per roll. Trial-and-error required.
Sorbothane: Premium specialized dampening material. Very effective absorption. Extremely expensive option. ~$20-40 per sheet. Only for committed enthusiasts.
Cardstock or thick paper: Ultra-budget alternative. Multiple layers create thickness. Less effective than foam but functional. ~$1-3 per sheet.
Masking tape: Alternative approach using multiple tape layers. Creates thickness through accumulation. Less effective than foam. ~$3-5 per roll.
Thickness Recommendations
1-2mm: Subtle effect. Good for keyboards with very tight internal tolerances. Minimal interference with components.
2-3mm: Sweet spot. Most common thickness used. Good balance between dampening and avoiding clearance issues.
3-4mm: Aggressive dampening approach. More noticeable sound modification. Higher risk of PCB mounting issues.
Rule of thumb: Start thinner (2mm) and add additional layers if results insufficient. Easier than removing excess foam trapped under PCB.
Required Tools
Scissors or craft knife: Cut foam to size. Craft knife enables precision cutting, scissors adequate for straight cuts.
Ruler or measuring tape: Measure placement areas and cut dimensions accurately.
Screwdriver set: Disassemble keyboard case and remove PCB. Phillips and flathead typically needed.
Tweezers: Position small foam pieces precisely during installation. Helps avoid fingerprints on clean foam.
Marker or pencil: Mark foam for cutting. Plan placement areas.
Cutting mat: Protect work surface from knife. Prevents damage to table/desk.
Optional helpful tools:
Hole punch: Create uniform foam circles for specific dampening points. Speeds up installation if targeting many discrete locations.
Template material: Trace PCB outline ensuring accurate foam cutting matching keyboard shape.
Adhesive backing (optional): Some buy foam with adhesive backing. Not required—compression holds non-adhesive foam adequately.
Recording device: Smartphone or computer with microphone. Document before and after sound for objective comparison.
Caliper or thickness gauge: Measure exact foam thickness ensuring consistency.
Installation Process
Preparation Steps
Step 1: Disassemble keyboard carefully
- Remove all keycaps using proper keycap puller
- Unscrew all case screws (note screw types/sizes if mixed)
- Gently separate top case from bottom case
- Take photo of internal configuration
- Document cable routing and connections
Step 2: Remove PCB from case
- Locate and unplug cable from PCB connector
- Locate PCB mounting screws (usually 4-8)
- Carefully unscrew and remove all PCB screws
- Gently lift PCB from case
- Set aside on clean surface
- Keep screws organized (small container ideal)
Step 3: Document original sound characteristics
Record typing test using consistent methodology:
- Consistent room acoustics (same location)
- Consistent microphone distance
- Standard typing pattern (press same keys same pressure)
- Record for comparison after modification
Step 4: Inspect case bottom
Check for:
- Existing dampening material (remove if installing force break)
- Debris or dust (clean before installing foam)
- Any standoff issues or component interference
- Cable routing requirements
Planning Foam Placement Strategy
Strategy 1: Perimeter placement (beginner-friendly)
- Foam strips around PCB edges (5-10mm wide)
- Creates dampening border containing most foam material
- Moderate acoustic effect
- Safest for keyboards with tight tolerances
- Minimal risk of component interference
Strategy 2: Strategic point placement
- Small foam pieces (1-2cm squares) at specific locations
- Around standoffs or screw holes typically
- Between mounting points
- Targeted dampening without full coverage
- Requires more planning and experimentation
Strategy 3: Full coverage with cutouts
- Foam sheet covering entire PCB bottom area
- Holes cut for standoffs, USB connector, components
- Maximum dampening effect
- Most intensive installation process
- Highest risk if measurements incorrect
Strategy 4: Strip method
- Horizontal or vertical foam strips across PCB
- Creates linear break points through keyboard
- Balanced approach between minimal and maximum
- Good starting point for experimentation
- Systematic installation process
Recommendation for beginners: Start with Strategy 1 (perimeter). Safest approach, good results, minimal component risk.
Step-by-Step Installation
Step 1: Measure and cut foam
For perimeter placement:
- Measure PCB edge lengths (front, back, left, right)
- Measure width of edges where mounting will occur
- Cut foam strips 5-10mm wide
- Cut length to match PCB edge measurements
- Corners can be separate pieces or one continuous strip
For strategic point placement:
- Identify exact placement locations (usually around standoffs)
- Mark locations on foam sheet
- Cut small squares (1-2cm) or circles (1-1.5cm diameter)
- Prepare quantity based on placement plan
For full coverage:
- Trace PCB outline on foam sheet (use template or direct tracing)
- Mark all standoff hole locations
- Mark USB connector area
- Mark any components on PCB bottom requiring cutouts
- Carefully cut foam to shape
- Cut holes for standoffs, connector, components
Step 2: Test fit foam in case
Critical step preventing rework:
- Place foam pieces in case at planned locations
- Position PCB on top of foam pieces
- Check that standoffs align with PCB holes
- Verify no components getting crushed
- Confirm USB connector has clearance
- Check all screw holes accessible
If problems detected: Adjust foam size or placement before final installation.
Step 3: Final foam placement
Once satisfied with test fit:
- Remove PCB from case
- Place foam pieces in case at exact planned locations
- If using adhesive-backed foam, remove backing carefully
- Stick or position foam precisely
- Ensure placement won't shift when PCB installed
- For non-adhesive foam, compression from PCB holds foam adequately
Step 4: Reinstall PCB carefully
- Inspect PCB bottom (no debris caught on foam)
- Lift PCB slowly into case above foam
- Align standoffs with mounting holes
- Lower PCB gently onto foam
- Apply light even pressure seating PCB
- Don't force—foam should compress naturally under PCB weight
- Install PCB screws (snug but not overtightened)
Critical: If PCB doesn't seat smoothly, stop and check foam placement. Don't force PCB down onto foam.
Step 5: Test functionality before reassembly
Essential verification step:
- Reconnect keyboard cable
- Test all keys using online keyboard tester
- Press each key checking for responsiveness
- Check modifier keys (Shift, Ctrl, etc.)
- Verify no keys stuck or non-responsive
- Test multiple keystrokes per key
If issues detected: Remove PCB, adjust foam placement, retest before proceeding.
Step 6: Reassemble keyboard
- Route cable properly through case opening
- Close top and bottom case carefully
- Install all case screws
- Tighten screws evenly (don't strip)
- Reinstall all keycaps
- Final functionality test with keyboard fully assembled
Step 7: Document sound modifications
Record typing test using same methodology as pre-mod recording:
- Same location for consistent acoustics
- Same microphone distance
- Standard typing pattern
- Compare to original recording
Objective comparison better than subjective memory.
Common Installation Mistakes to Avoid
Too thick foam: Prevents proper PCB seating, causes key registration issues. Verify clearance before final installation.
Foam covering components: Crushes sensitive SMD components on PCB bottom. Leave clearance for all components.
Blocking screw holes: Prevents screw installation or makes assembly difficult. Ensure holes accessible after foam placement.
Uneven foam compression: Creates some keys feeling different from others. Ensure even foam distribution and compression throughout.
No test fit: Results in discovering problems during final assembly requiring complete disassembly and rework.
Foam shifting during assembly: Adhesive backing (or using thin tape on non-adhesive foam) prevents shifting during installation.
Sound Comparison and Results
Expected Acoustic Results
Typical improvements with force break mod:
- Deeper pitch (reduced high-frequency resonance)
- Less hollow echo in case
- More controlled resonance without excessive ringing
- Improved "thock" or "poppy" character
- Reduced metallic case ping
- Fuller sound with less emptiness
Magnitude of change: Varies significantly. Some keyboards show dramatic improvement while others minimal.
Best Results With Certain Keyboards
Tray mount keyboards: Show most dramatic improvement. Tray mount mounting style tends toward hollowness that force break specifically addresses effectively.
Gasket mount keyboards: Moderate improvement. Gasket mounting already provides some acoustic dampening, reducing force break benefit.
Top mount keyboards: Good improvement. Benefits from bottom-side dampening complementing top-mount characteristics.
Plateless keyboards: Not recommended. Unusual mounting makes force break placement problematic.
Tight tolerance keyboards: Challenging. Limited space between PCB and case makes foam placement difficult.
Comparing Force Break to Other Mods
Force break vs PE foam mod:
PE foam:
- Installed between PCB and switch tops
- Affects switch bottom-out feel (firmer)
- Creates "poppy" switch sound
- Changes tactile feedback
- Directly impacts how switch engages PCB
Force break:
- Installed between PCB and case bottom
- Minimal switch feel impact
- Affects overall keyboard acoustics
- Doesn't change bottom-out experience
- Changes overall resonance character
Can combine both: Force break and PE foam address different acoustic aspects. Using both creates comprehensive acoustic modification.
Force break vs tape mod:
Tape mod:
- Multiple tape layers on PCB back
- Creates dampening through material buildup
- Simple application
- Less permanent (tape can remove)
- Variable results depending on tape layers
Force break:
- Strategically placed foam pieces
- More targeted dampening approach
- Requires more planning
- More permanent approach
- More control over acoustic results
Similar goals, different implementations. Both create deeper sound. Some prefer one, others combine.
Subjective Nature of Sound Preference
Important reality: Sound preference is highly subjective. Some enthusiasts love deeper muted sound, others strongly prefer bright clacky acoustics.
Before committing: Use removable foam initially (non-adhesive foam held by PCB weight). Decide objectively if you prefer modified sound before permanent installation.
Document changes: Recordings help objective assessment versus subjective memory. Playback original and modified side-by-side.
A/B testing: Some disassemble after short trial period, reinstall to compare. Reveals whether change actually preferred.
Troubleshooting Common Issues
Keys Not Working After Installation
Cause: Foam too thick preventing proper PCB seating, or foam crushing components on PCB bottom.
Diagnosis:
- Inspect PCB bottom for component damage
- Check if PCB sits flush in case
- Verify standoffs aligned properly
Solutions:
- Replace with thinner foam (reduce by 1mm)
- Cut foam away from areas causing interference
- Ensure standoffs align with PCB holes
- Verify no components crushed or compressed
Prevention: Always perform test fit before final installation.
Some Keys Feel Different Than Others
Cause: Uneven foam compression creating inconsistent firmness across keyboard.
Diagnosis:
- Compare key feel across board
- Identify keys with different feel
- Check foam distribution in those areas
Solutions:
- Ensure foam even thickness throughout
- Trim areas with excessive compression
- Redistribute foam for uniform pressure
- Ensure all foam sits completely flat
No Noticeable Sound Change
Cause: Foam placement ineffective for this specific keyboard, or insufficient foam dampening.
Attempted fixes:
- Try thicker foam (upgrade from 2mm to 3-4mm)
- Change foam placement strategy (more complete coverage)
- Use denser foam material (neoprene instead of EVA)
- Combine with other mods (tape mod, case foam)
- Accept this keyboard less responsive to force break mod
Keyboard Feels Mushy After Mod
Cause: Too much dampening eliminating all resonance and feel.
Solutions:
- Reduce foam amount (remove sections, not necessary everywhere)
- Switch to less dense foam material (EVA instead of neoprene)
- Remove foam from certain areas restoring some resonance
- Find balance between dampening and responsiveness
Excessive PCB Flex After Installation
Cause: Foam creating uneven support causing excessive flex or wobbling.
Solutions:
- Increase foam distribution for more even support
- Use firmer foam material providing structural support
- Add additional support at flex points
- Ensure foam fully seated not creating gaps
Advanced Techniques
Layered Foam Approach
Combine different foam types in multiple layers:
- Soft foam next to PCB (gentle initial dampening)
- Dense foam bottom layer (structural support and secondary dampening)
- Creates complex dampening profile addressing multiple frequencies
Advantages: Fine-tuned acoustic response, addresses different frequency ranges
Disadvantages: More complex installation, thicker overall stack
Selective Dampening Strategy
Apply force break only to specific keyboard sections:
- Alphas section only (preserves modifier key sound)
- One side of split keyboard
- Numpad area separately
- Creates acoustic variation across keyboard
Advantages: Customize sound per region, preserve preferred characteristics
Disadvantages: Complex planning and installation
Combination Modding Approach
Force break + PE foam: Comprehensive acoustic modification addressing switch feel and overall resonance
Force break + Tape mod: Layered dampening using multiple approaches
Force break + Case foam: Maximum hollowness reduction through bottom and side dampening
Advantage: Each mod addresses different acoustic aspect. Combined creates refined result.
Disadvantage: Cumulative complexity and cost
Material Experimentation and Testing
Different foam materials create distinctly different sound signatures:
- EVA foam: Balanced dampening with moderate cost
- Neoprene: Denser, deeper sound, higher cost
- Sorbothane: Maximum dampening creating muted sound, premium cost
- Shelf liner: Variable results depending on type
Recommendation: Test various materials with removable installation (non-adhesive foam). Determine preferred acoustic profile before permanent commitment.
FAQ
Q: What is force break mod exactly?
A: Placing thin foam or material between PCB and case bottom, creating strategic dampening points. Alters how keyboard vibrations propagate, resulting in deeper less hollow sound. Alternative to PE foam mod. See explanation section above.
Q: Does force break mod affect typing feel?
A: Minimal direct effect on switch feel. Primarily acoustic modification. Possible slight firmness if foam very thick, but significant feel change unlikely. PE foam affects switch feel much more than force break. See results section above.
Q: What foam thickness should I use?
A: 2-3mm most common starting point. Thin foam (1-2mm) subtle effect, safe for tight keyboards. Thick foam (3-4mm) maximum effect but higher risk of component issues. Start thin, add more if needed. See materials section above.
Q: Can I combine force break with PE foam mod?
A: Yes, completely compatible. Force break (PCB-to-case) and PE foam (PCB-to-switch) address different acoustic aspects. Many enthusiasts use both for comprehensive modification. See combination section above.
Q: Is force break mod reversible?
A: Completely reversible. Remove foam returning keyboard to original condition. Non-destructive modification. Safe to experiment with different materials and placements without permanent commitment. See installation section above.
Conclusion
Force break mod offers sophisticated acoustic customization through strategic foam placement between PCB and case, creating controlled dampening points altering sound signature toward deeper less hollow tone. Installation requires keyboard disassembly, careful foam cutting and placement, meticulous attention to clearances preventing PCB mounting issues.
Results vary significantly by keyboard design—tray mount keyboards show most dramatic improvement, gasket mount moderate enhancement. Combining force break with PE foam mod or tape mod creates comprehensive acoustic modification addressing multiple sound aspects simultaneously.
Completely reversible non-destructive nature enables safe experimentation without permanent commitment. Starting with conservative foam placement (perimeter or strategic points) provides gentle introduction before advancing to full coverage approaches.
Material selection profoundly influences results—EVA foam provides balanced dampening, neoprene creates dense deep character, sorbothane delivers maximum muting. Personal preference determines ideal material and placement strategy matching desired acoustic profile.


